Blind Contour Drawing: A 10-Minute Practice Guide
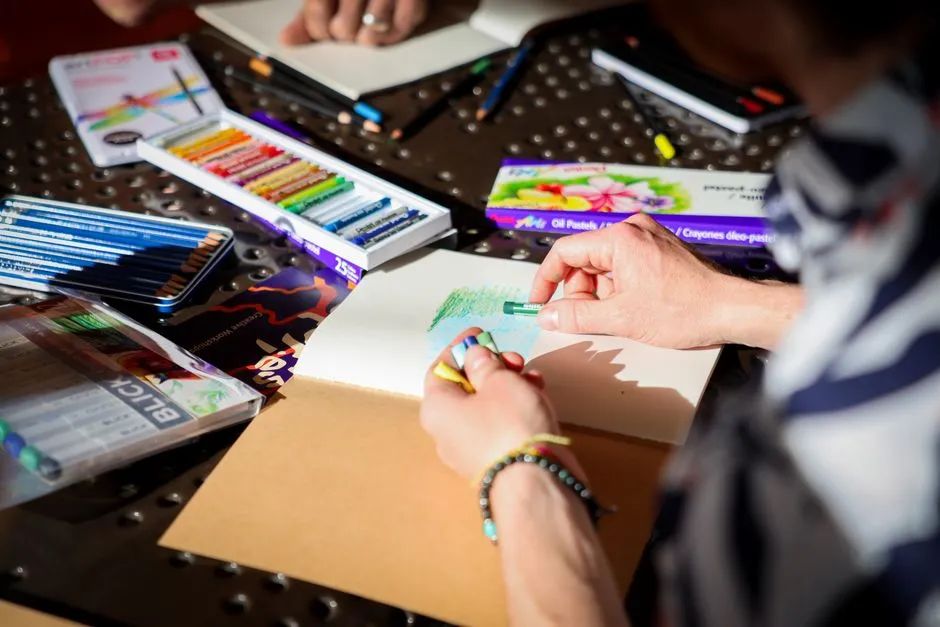
Draw one object without watching the page
Blind contour drawing is an exercise in which you follow the visible edges of a subject with your eyes while moving your pencil, without looking down at the paper. Set a timer for ten minutes, choose one object, and draw slowly in a continuous line. The result may look delightfully unlicensed. The point is to coordinate looking and moving, not to produce a portrait for the mantel.
This practice belongs in drawing practice because its constraint makes the job clear: keep looking, keep the line moving, and notice more than you normally would.
Set up a subject with a useful outline
Choose something that will remain still and has a varied edge. A shoe, houseplant, mug with a handle, crumpled paper bag, or your non-drawing hand works well. Very symmetrical objects can tempt you to draw the symbol in your head instead of the shape in front of you.
Place the object slightly to the side of your drawing hand. Tape the paper down if it slides. Use a pen when you want to remove the possibility of erasing; use pencil when pen feels needlessly dramatic. Either tool works.
Before drawing, trace the subject’s outside edge with your eyes. Notice where it changes direction, disappears behind another form, or meets an interior edge.
Use a ten-minute sequence
Minute 1: choose a starting point
Pick one point on the subject and place your pen anywhere on the paper. These points do not need matching coordinates. Once you begin, look at the subject rather than the page.
Minutes 2–7: travel slowly
Move your eyes along the contour as if a very patient ant were walking it. Let the pen move at the same pace. When the edge turns, turn the line. When it becomes bumpy, record the bumps. Slow is useful; glacial is optional.
You may include important interior contours, such as the rim inside a mug or the line where one finger overlaps another. Imagine following a bridge from the outer edge to that interior line. Do not peek to engineer the landing.
Minutes 8–9: add one interior route
Choose a visible crease, vein, handle opening, or overlap and follow it with the same attention. If you lose your place, restart from the current position rather than looking down to repair the drawing.
Minute 10: stop and annotate
Look at the page. Circle one area where the line reflects something you truly noticed. Write one short note about what surprised you. A useful observation might be, “The handle changed direction four times,” not merely, “This looks weird.” Weird has already filed its report.
Know what the exercise is training
Blind contour drawing separates observation from correction. In an ordinary sketch, you repeatedly glance at the page and adjust proportions. Here, you temporarily remove that feedback so your attention stays with the subject.
That does not make blind contour a complete drawing method. It will not teach value, perspective, composition, or accurate proportion by itself. It is one constraint for noticing edges and slowing automatic marks. Follow it with a normal sketch if you want to apply what you saw.
The same habit helps when you start a nature journal: look first, distinguish observation from assumption, and let labels carry details the line misses. Outdoor prompts also live in field notes.
Try three variations without changing the point
Once the basic version feels familiar, vary one element:
- Modified contour: glance at the page briefly every thirty seconds, then return to the subject.
- Non-dominant hand: use the other hand while still looking only at the subject.
- Two speeds: draw the same object in two minutes and then ten minutes, noting which features appear only when you slow down.
Do not judge the pages as better and worse portraits. Compare what each constraint made you notice.
Keep the page instead of fixing it
Date the drawing and write the subject beside it. Resist tracing over displaced lines to make the image more recognizable. The original line is the record of the exercise; “correcting” it afterward replaces the evidence with cleanup.
Repeat with the same object on another day. You may become calmer, slower, and more attentive even when the picture remains gloriously eccentric. That is progress. The mug does not need to look flattered.